Summary
Connecting to a Minecraft Bedrock server from the Nintendo Switch allows players to join a global community of Minecraft players, accessing a wide range of servers and gameplay experiences. This enables Switch players to play with friends and other players across different platforms, including Xbox and PlayStation, and to explore new worlds and game modes. With the Switch's portability and online capabilities, players can connect to Minecraft Bedrock servers from anywhere and enjoy a seamless gaming experience.
| Note | The DNS settings changed allow the player to connect to BedrockConnect, allowing the console to connect to any server IP and a public DNS resolver. For more information, see: BedrockConnect | Public DNS Resolver (1.1.1.1) |
How to Connect to a Bedrock Server on a Nintendo Switch
1. From the Nintendo Switch menu, open the System Settings menu. ![]()
2. Scroll down to Internet and select Internet Settings.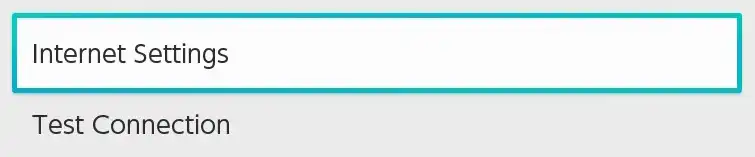
3. Choose the network the device is connected to.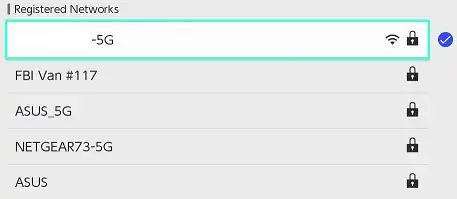
4. Choose Change Settings.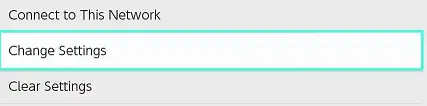
5. Scroll down to DNS Settings and switch it to Manual.
6. For the Primary DNS, use the following code: 104.238.130.180 .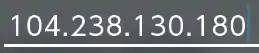
7. For the Secondary DNS, use the following code: 1.1.1.1 .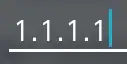
8. Save the settings. ![]()
9. Open Minecraft Bedrock Edition and choose a profile to use.
10. Hit Play. ![]()
11. With the R and L buttons, scroll over to the Servers option. 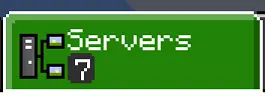
12. On a server, select the Join Server button.
13. Once connected, choose the Connect to a Server option. 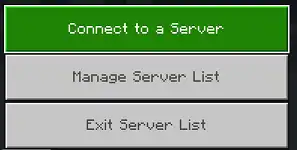
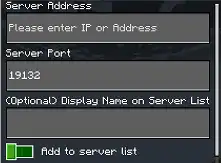
14. Fill in the fields.
Server Address - The address to connect to the server.
Server Port - The port to connect to the server.
Display Name on Server List - Set a name for the server. Optional.
Add to server list - Tick to have the server show up on the server list.