Summary
Left 4 Dead 2 custom maps allow players to explore new, player-created levels in this popular zombie survival game. The dedicated community designs these custom maps and provides unique challenges and experiences beyond the base game. They range from sprawling, open-world environments to tight, intense encounters in confined spaces. With hundreds of custom maps available, players can immerse themselves in fresh gameplay, uncover hidden secrets, and enjoy endless replayability. Left 4 Dead 2 custom maps are a fantastic addition for fans looking to extend their zombie-slaying adventures.
| Requirement |
| Both server and client must have the map installed. |
How to Install Custom Maps on a Left 4 Dead 2 Server
1. Download a custom map here.
2. Log in to the BisectHosting Games panel.
3. Stop the server.![]()
4. Go to the Files tab.![]()
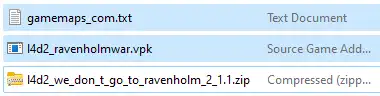
5. Find the following directory for .vpk files: /home/container/left4dead2/addons .
| Note | If the file contains the raw .bsp file, use the following directory: /home/container/left4dead2/maps . |
6. Upload the downloaded file.![]()
7. Unarchive the .zip folder.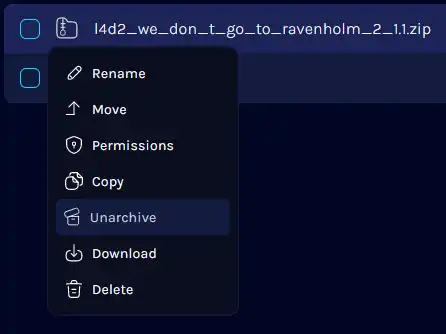
8. Start the server. ![]()
9. Go to the Console tab.![]()
10. Enter the following to find the map level: maps * .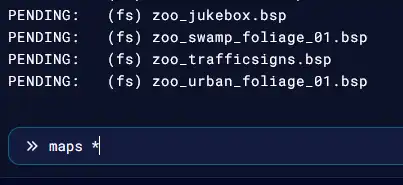
11. Run the following to start the campaign: changelevel <maplevel> .
How to Install Custom Maps on a Left 4 Dead 2 Client
1. Download a custom map here.
2. Right-click Left 4 Dead 2 on Steam, hover Manage and select Browse Local Files.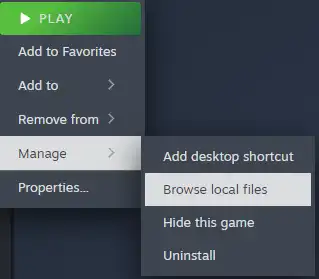
3. Find the following directory: SteamLibrary\steamapps\common\Left 4 Dead 2\left4dead2\addons .![]()
| Note | If the file contains the raw .bsp file, use the following directory: SteamLibrary\steamapps\common\Left 4 Dead 2\left4dead2\maps . |
4. Copy and paste the downloaded file here.![]()
5. Unzip the downloaded file.